Learn how to embed Mermaid.js based diagrams in Sanity.
While you can easily create diagrams using a million different tools and then embed them as images in Sanity, it means that both any updates requires a roundtrip and a lot of boilerplate. Most likely, this will drive you away from using small diagrams in places where they might make sense.
Mermaid.js is a tool that lets you define diagrams in code with a plaintext format that is then rendered to SVG. This is neat for a few different reasons:
- Mermaid syntax is terse, meaning you can pack a lot of diagram info in a comprehensible amount of text.
- Using plain text also makes it very easy to quickly make changes to the diagram.
- Mermaid support some interactivity on the diagrams. That would have been a lot more work using a different tool
- Theme support. You can define themes to make all diagrams fit your design
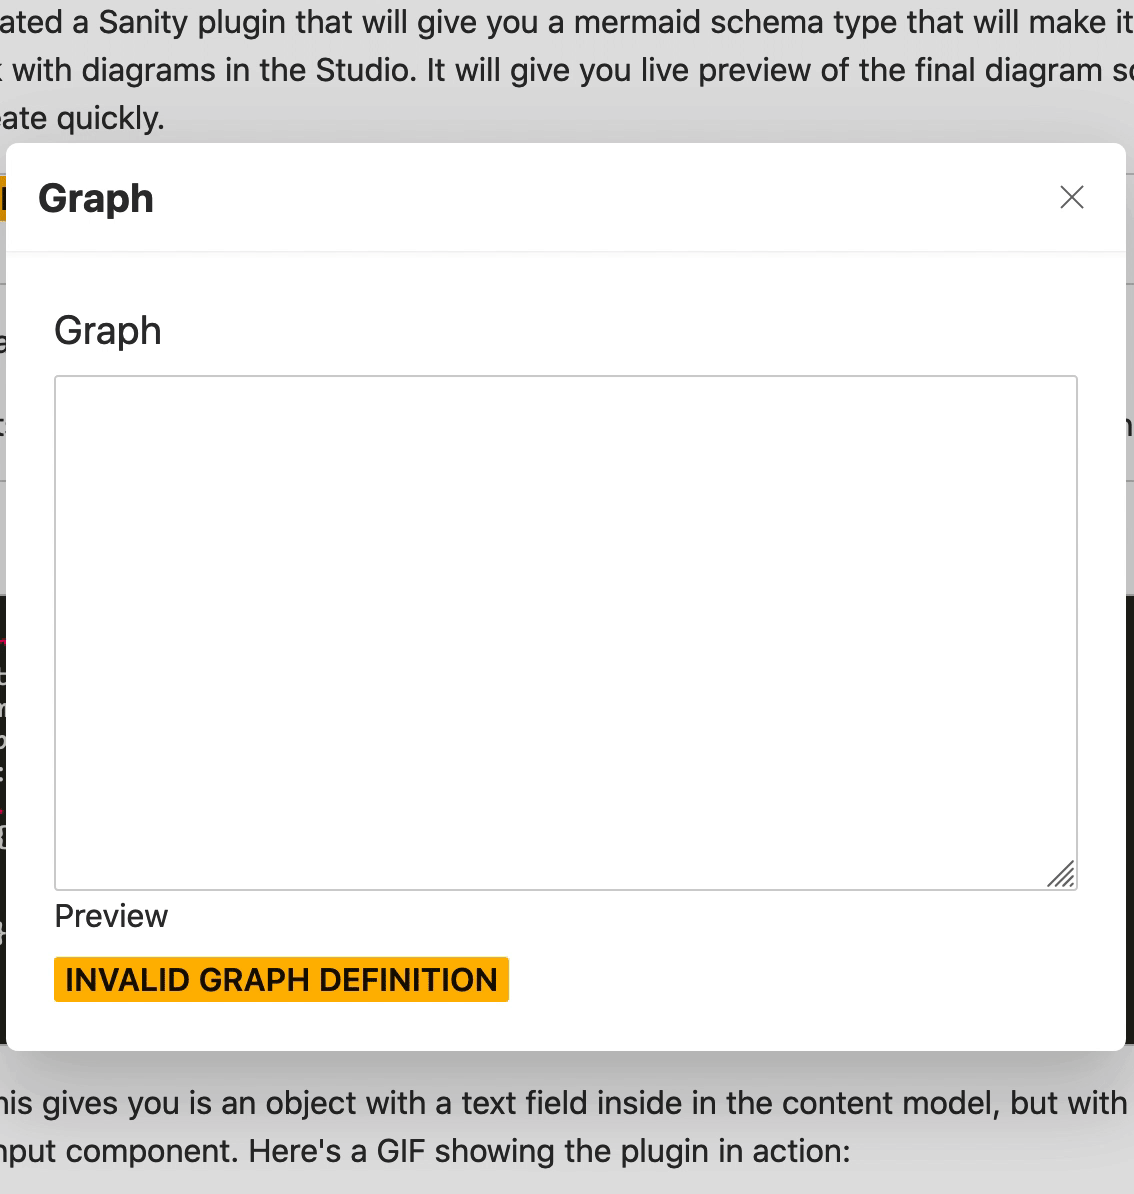
I've created a Sanity plugin that will give you a mermaid schema type that will make it easier to work with diagrams in the Studio. It will give you live preview of the final diagram so you can create quickly.
Configure studio
First start with installing the plugin: sanity install mermaid
Now lets add it to our schema, either as part of a document or block content, or both:
block-content.js
export default {
  title: 'Block Content',
  name: 'blockContent',
  type: 'array',
  of: [
    ...yourCurrentTypes,
    {
      title: 'Graph',
      type: 'mermaid'
    }
  ]
}
What this gives you is an object with a text field inside in the content model, but with a more fancy input component. Here's a GIF showing the plugin in action:
Now you can use the multiple diagram types Mermaid supports: flowchart, sequence, class and state diagrams, gantt and dreaded pie charts.
Configure a React frontend
Now you can configure your frontend to enable rendering the diagrams. As my blog is built on Gatsby and thus React that is what I'll cover. You have two options when it comes to rendering the diagrams. Either client side with Mermaids default approach of turning any HTML element with the class mermaid into a diagram. The diagrams end up as SVG with an inline <style> tag. Unfortunately it has direct access to the DOM so you can't use it to render SVG markup as a string for server side rendering or static generation. It does offer a mermaid.cli that will allow you to create a .svg using Node, but it does so with Puppeteer and exporting of the browser SVG. Not great for build performance.
Lets focus on client side rendering. Its likely that will suffice for your needs.
Assuming you've set up Mermaid on block text we need to create a serializer for the @sanity/block-content-to-react package and a component that can safely render diagrams. We will use React.lazy with Suspense and an SSR check to not render diagrams on the server.
// First use dynamic import in React.lazy to load the component
const Mermaid = React.lazy(() => import('./Mermaid'))

// Create a serializer for the mermaid type that only renders client side
function mermaid ({ node }) {
  const isSSR = typeof window === 'undefined'
  return isSSR ? null : (
    <React.Suspense fallback={<div />}>
      <Mermaid on {...node} />
    </React.Suspense>
  )
}
export default {
  ...otherSerializers,
  mermaid
}
Next you need to import and start Mermaid. The following component should take care of safely rendering Mermaid in a React context. I'll most likely package this as a helper later.
Mermaid.js
import React, { useEffect, useState } from 'react'
// I use theme-ui and its support for color modes
import { useColorMode } from 'theme-ui'
import mermaid from 'mermaid'

export default function Mermaid ({ definition, _key }) {
  const id = `mermaid-${_key}`
  const ref = React.useRef()
  const [mode] = useColorMode()
  const theme = mode === 'dark' ? 'dark' : 'default'

  // We run this as an effect instead of top level outside the component
  // so we can use the color mode to toggle mermaid themes
  useEffect(() => {
    mermaid.initialize({
      startOnLoad:false,
      theme,
    })
  }, [theme])

  // This effect renders and updates the DOM node with innerHTML.
  // You could use dangerouslySetInnerHTML as an alternative
  useEffect(() => {
    if (ref.current) {
      mermaid.mermaidAPI.render(id, definition, (result) => {
        ref.current.innerHTML = result
      })
    }
  }, [theme, definition])

  // We return a faux element with an id because Mermaid
  // does DOM manipulation on the existing node based on id
  // during its rendering phase. If you use a single node for final
  // render and mermaids render process I found it to crash thus this weird looking hack
  return (
    <>
      <div key="faux" id={id} />
      <div key='preview' ref={ref} />
    </>
  )
}
Well thats it. You should now have a powerful way of adding diagrams to your site with little effort. Make sure you read through the Mermaid manual to see the syntax for the different diagram types
Example diagrams
A flowchart with subprocesses
graph TB
  F[Gatsby]
  F --> G
  F --> Github

  subgraph build
    S[(Sanity)]
    G{GraphQL}
    GH[(Github)]

    G --> GH
    G --> S
  end

  subgraph deploy
    Github-->Netlify
    Netlify-->Y{{You}}
  end
Sequence diagram
sequenceDiagram
    participant Client
    participant Auth server
    Client->>Auth server: Client credentials
    Auth server->>Auth server: Authenticate client
    Auth server->>Client: Access token
    Client->>API: Access protected API with access token
    API->>Client: Success
I hope this helps you add diagrams on your sites when it makes sense.